This comprehensive guide helps you find, select, and install the correct ignition coil for your Ford 8N, 9N, or 2N tractor, ensuring a smooth start every time. We'll cover everything from understanding coil specifications to troubleshooting common installation issues, providing you with the knowledge to get your tractor running reliably. For carburetor issues, check out this helpful resource: Ford 9N carburetor.
Understanding Coil Types & Specifications
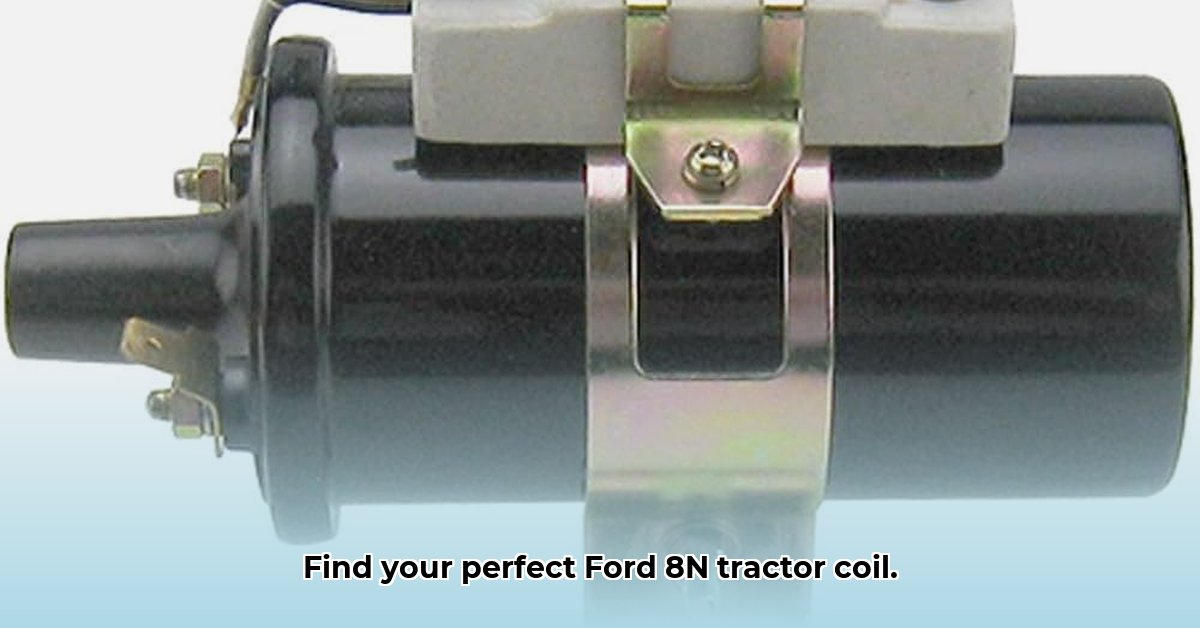
The heart of your tractor's ignition system, the ignition coil, transforms low-voltage battery power into the high-voltage spark needed to ignite the fuel-air mixture in the cylinders. Aging coils are prone to failure, resulting in difficult starts or no start at all. This section is crucial to choosing the right replacement.
The most important specification is voltage: 6V or 12V. Using the incorrect voltage coil can damage your tractor's electrical system. Your tractor's voltage is determined by its original design and any subsequent modifications.
Identifying Your Tractor's Voltage:
- Check the Owner's Manual: This is the most reliable source.
- Examine the Data Plate: Located on the tractor's frame, it often specifies the voltage.
- Inspect the Battery: The battery terminals (positive and negative) and markings will indicate voltage.
- Utilize the Serial Number: The serial number can help determine the year and model, which will frequently dictate the voltage.
Decoding Part Numbers:
Once you know the voltage, you'll need the correct part number. OEM (Original Equipment Manufacturer) parts are ideal, but aftermarket options are also available.
| Voltage | Example OEM Part Number | Example Aftermarket Part Numbers | Approximate Price Range (USD) | Notes |
|---|---|---|---|---|
| 6V | AB12345 | XY67890, ZA01234 | $15 - $35 | May require additional components. |
| 12V | CD67890 | UV12345, WX56789 | $20 - $45 | Usually a direct replacement. |
(Note: These are example part numbers. Always verify the correct part number for your specific tractor model and year.)
Identifying Your Coil Needs
This step-by-step guide ensures you select the perfect coil:
- Determine Voltage (6V or 12V): This is paramount. An incorrect voltage will prevent the tractor from starting and potentially damage the system.
- Inspect the Old Coil: Look for physical damage like cracks, burns, or corrosion. This will confirm the necessity for a replacement and guide the selection of a suitable coil.
- Locate Part Numbers (if possible): The old coil might have a visible part number, providing a starting point for finding a replacement.
- Consult Online Resources: Many online forums (e.g., Yesterday's Tractors) and websites dedicated to Ford 8N tractors offer detailed information and expert advice.
- Refer to Your Tractor's Manual (if available): The manual should specify the correct coil for your specific tractor model and year.
Choosing a Replacement Coil: OEM vs. Aftermarket
This decision hinges on balancing cost and reliability:
- OEM Coils: More expensive but offer superior quality, guaranteed compatibility, and longer lifespans.
- Aftermarket Coils: Less costly, but quality varies significantly among manufacturers. Thorough research and reviews are essential before purchasing.
Consider the warranty offered by the manufacturer. A longer warranty suggests higher confidence in the product's reliability.
Installation Guide: A Step-by-Step Process
Safety First! Always disconnect the battery's negative terminal before starting any electrical work.
- Disconnect the Battery: This prevents electrical shocks and accidental damage.
- Remove the Old Coil: Carefully disconnect the wires, noting their placement (taking photos can help).
- Install the New Coil: Securely mount the new coil in the original location.
- Reconnect the Wires: Attach the wires to the new coil, ensuring correct polarity. Refer to your tractor's wiring diagram if needed.
- Reconnect the Battery: Carefully reconnect the negative terminal.
- Test the Ignition System: Attempt to start the tractor.
Important: If wire length adjustments are necessary, ensure connections are secure and insulated properly to prevent shorts.
Upgrading to a Modern Ignition System (Optional)
Consider upgrading to a Pertronix Ignitor kit. This replaces the points and condenser with an electronic module, resulting in a more reliable ignition system.
Advantages: Improved starting (especially in cold weather), increased reliability, and elimination of point maintenance.
Disadvantages: Higher initial cost, and installation requires some mechanical skill.
Important: Ensure compatibility with your specific tractor model and year before purchasing.
Troubleshooting
If your tractor fails to start after installing a new coil:
- Check All Connections: Loose or incorrect connections are common causes of ignition problems.
- Inspect Wiring: Look for breaks, frays, or corrosion.
- Inspect Distributor Cap and Rotor: These components can also cause ignition issues.
- Test the Ignition Switch and Battery: Verify their proper functioning using a multimeter.
Maintenance and Longevity
Regular inspection and preventative maintenance significantly extend the coil’s lifespan. Keep the coil clean and dry, and inspect it regularly for wear and tear. Replace any damaged components promptly.
Conclusion
Replacing a Ford 8N tractor coil is a manageable task with careful planning and execution. Understanding voltage requirements, choosing the right coil, and following the installation steps carefully will ensure your tractor runs smoothly for many years to come. Remember, preventative maintenance is key to long-term reliability.